AWS Deep Learning setup
Chapters
0:0 Intro0:45 Request service limit increase
2:10 Python installation
3:25 cygwin installation
4:50 security keys
5:10 create user
6:20 configure AWS
7:20 download script
7:55 run script
9:50 Nvidia SMI
11:20 Testing
Transcript
This video explains how you can get set up with a GPU-based server on Amazon Web Services. The server is already for you to start running deep learning models, and we will be using it in the Data Institute Deep Learning Certificate. In order to use AWS, of course, you will need to sign up if you haven't already.
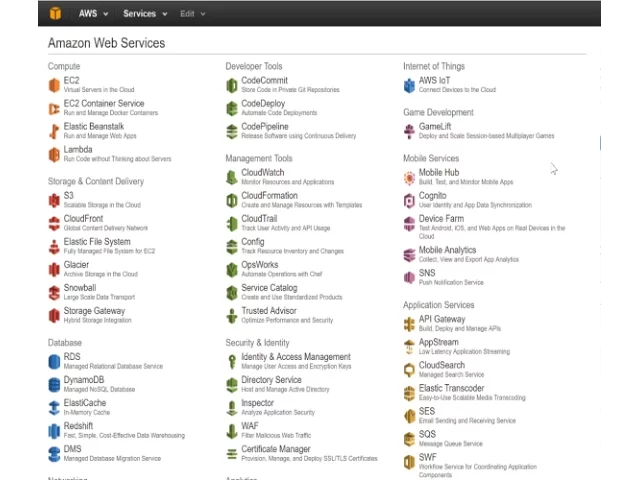
You can go to aws.amazon.com and click on "Create an AWS Account". And then just fill in the information as it's requested from you. Once you've done that, you will find yourself on a page that looks something like this. This is your Amazon Web Services console. Unfortunately, AWS does not allow you to create GPU-based servers without requesting special access.
So the next thing you'll need to do is to go to this address, aws.amazon.com, contact us, EC2 request, and ask for a service limit increase. For region, choose US West Oregon, and for instance type, choose G2 to X large. And say that I want a new limit value of 1, because by default you get 0.
And then in the use case description, you can explain what you're using this for. Choose your contact method and press submit, and they should get back to you within 24 hours. If you've had an AWS account for a while and have been paying your bills, you should find that you can skip this step because you already have access.
Once you have access through AWS, we can get our instance up and running. Everything that we do will be done through the console, and specifically we'll be using the AWS command line interface, which is a Python-based interface. For all kinds of reasons, I very strongly suggest that you use the Python distribution called Anaconda, regardless of whether you're on Windows or Mac or Linux.
In our course, I'm going to be assuming that you have Anaconda installed, and specifically that you have it installed under your user account. I don't suggest trying to change the root Python or the main Python if you have one as a Mac or a Linux user. Installing Anaconda is very simple.
You just follow the instructions for each of the different operating systems, and choose the Python 2.7 version and the 64-bit installer. Once you've got that set up, the only other thing you need to do if you're using Windows is to make sure that you have a Bash shell installed.
Specifically, I suggest that you use Sequin. The reason that you need to do this is that some of the scripts we will be using are written in Bash, rather than PowerShell, which is the default in Windows. So you'll need to install this. Installing it is very simple. You just go to the Sequin homepage, click on Setup x86-64, and it will pop up a screen that looks like this.
I suggest you change Category to 4, and just make sure that you have WGet selected. So if you go to WGet, and just to make sure that it doesn't say "Skip" or "I'd install". Once you've done that, you can click Next, and finish off that wizard, and that will install Sequin.
Once you've done that, you can easily run Sequin by just typing Sequin in your Start Menu. If you have Mac or Linux, you'll already of course have a terminal with Bash installed, and so you can just go straight to there now. So here we are at our console. We're running Bash, and in order to install the AWS command line tools, you simply type pip install awscli.
In my case, you can see it's already installed, so it's ready to use. The AWS command line interface creates a program called AWS, and in order to use AWS, you first of all need to configure it with your security keys. So the next thing we're going to do is to set up our security keys.
So go to the AWS console. You can always get there by simply typing console.aws.amazon.com. And specifically, we're going to need to create a user for ourselves. We do this in this section called Identity and Access Management. And here we are in the IAM, Identity and Access Management section, where we can create a user for ourselves.
So we say create new user. We enter the name of the user we want to create. Leave this tick to generate an access key for each user, and say create. And very importantly, now say show user security credentials, and copy and paste this somewhere safe, because you're going to need them, and you won't be able to get them again later.
We can now close that, and that's created our new user. We now need to make this user an administrator. So I click on the user, and I choose permissions, and I say administrator access, which is the first one here, and I say attach policy. Okay, we have now made this user an administrator, and we're ready to go ahead and use this user to create our GPU server.
In order to do that, we first of all configure AWS by typing AWS configure. As you can see, it asks us for our access key ID, and here it is. This is the thing that we just selected. So paste that into access key ID, and press enter, and then secret access key.
Copy and paste that whole line as well, and press enter. For default region name, choose us-west-2. And for default output format, choose text. AWS is now configured, and we only have one more step left to go. We need to use a script that we have set up for you that will create and set up your new deep learning server.
So let's go and get that script. We can get it from here, www.platform.ai/files, and it's called setupp2.sh. The P2 instances are the brand new type of AWS instances which are particularly good for deep learning. So we can use wget to download that by typing wget and pasting the path.
There it is, and you'll see that we now have that script. Let's now go ahead and use that script to create our deep learning server. So we just type bash, setupp2.sh, hit enter, and then we have to wait a minute or so as it runs through all of the configuration steps, asking Amazon Web Services to create each piece of this puzzle.
It's going to set up a virtual network for us. It is going to set up a security key for us. It is going to set up an IP address for us. And then it's going to connect all that up to our requested server. AWS calls it an instance. So you can see it's setting up the instance now and waiting for it to start.
The permission denied error I'm getting on my AWS key there is simply because I have run this script before, so it's going to regenerate an SSH key when I already have one. So if you get that error message, don't worry, it just means that you've run this script once before.
So the script has finished running, and you can see it's created a number of things, and let us know the details to each of them as well. I strongly suggest that you copy and paste these somewhere convenient. It will be useful to use them again later. But most importantly, let's try now connecting to our new server.
So I'm going to copy the connect line here, paste it into our console, type yes to say we are happy with the authenticity of the host, and we are in. Now that we've logged in, we can check that the GPU is working correctly by typing nvidia-smi. This is a handy utility which just checks exactly what's going on.
It shows us that indeed the nvidia driver is running successfully. It has found the graphics card, shows us how much GPU memory we're using, and whether anything is currently using that GPU. So that's all looking pretty good. The only other thing that I suggest you do is I made a slight mistake when I first set up this AMI, which is I had a file left over which I should have deleted.
So I suggest you delete it by typing sudo rm.bash_history, and the reason for that is that otherwise it won't save your history, which will be pretty inconvenient. So the last thing I'm going to do is just make sure that we can actually run a notebook successfully. So we'll type jupyter notebook.
And now the notebook is up and running. You can see that it is running at port 8888. So let's test it. And we were told the URL of our instance earlier on, and hopefully you copied it like I suggested. So now copy that URL, go to your web browser, and go to that URL, and then colon 8888, since that's where we've got our notebook running.
As you can see, it's password protected, and the default password that I've put in is dl_course. So type dl_course and log in. Let's go to the notebooks directory, nbs, and let's create a notebook just to make sure it all works. Okay, new python condoroute. Let's try doing a simple calculation.
I believe that is accurate. Let's try importing theano, which is the underlying library we're using for accessing the GPU. Great, that's working well. And then secondly, let's make sure we can use Keras, which is a wrapper on top of theano that we'll be using throughout the course. That's working well as well.
Okay, well it looks like everything is set up correctly, and you're ready to start using it. When you're done, don't forget to shut down your instance so that you don't get charged for it. You can do that by going back to your AWS console, choosing the instance that you want to shut down, and choose instance state, stop.
Later on, I'll show you how to do these things through the command line to save Houston time.